The other day we were driving home at about 5:30 – just after sunset – and could barely make out plumes of wood smoke exiting cowls on Heads Road and Cornfoot Street. The day had been sunny, but cool, as would be expected in July. Our curtains were still open, so we hurried along while remaining under 50 km/hr.
We parked, grabbed the bubs and groceries, and walked inside. Upon entering our old villa on Arawa Place, we were pleased to feel the warmth gifted us by the sun. The thermometer in the kitchen read 23 degrees Celsius.
By now, my wife is tired of hearing me say, “Wow, it’s so warm in here. I can’t believe all those houses had wood burners going.”
I chalk the difference up to legacy and sunlight.

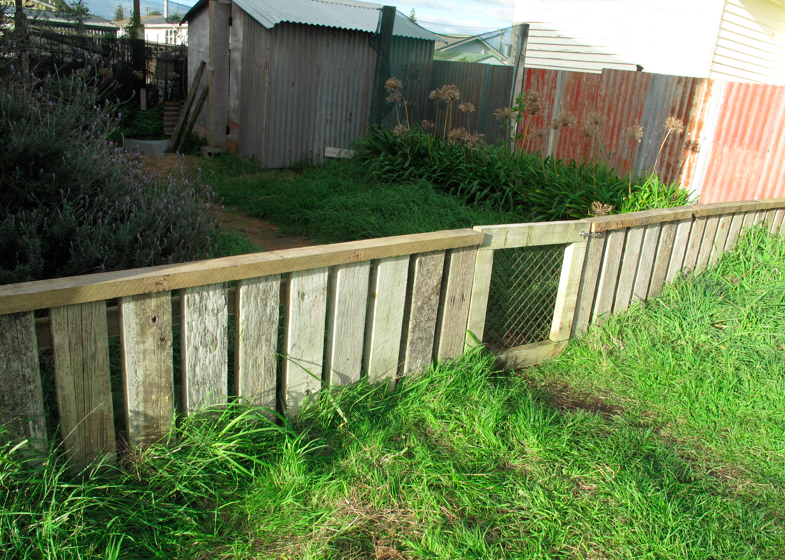
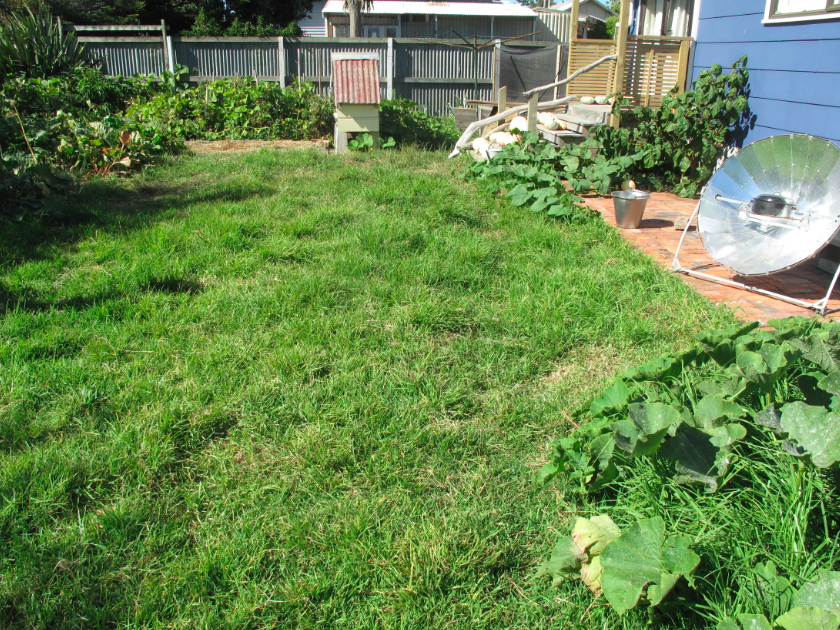
Before
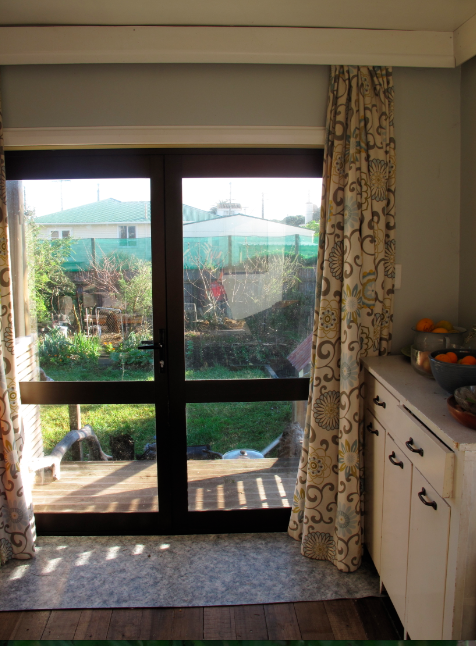
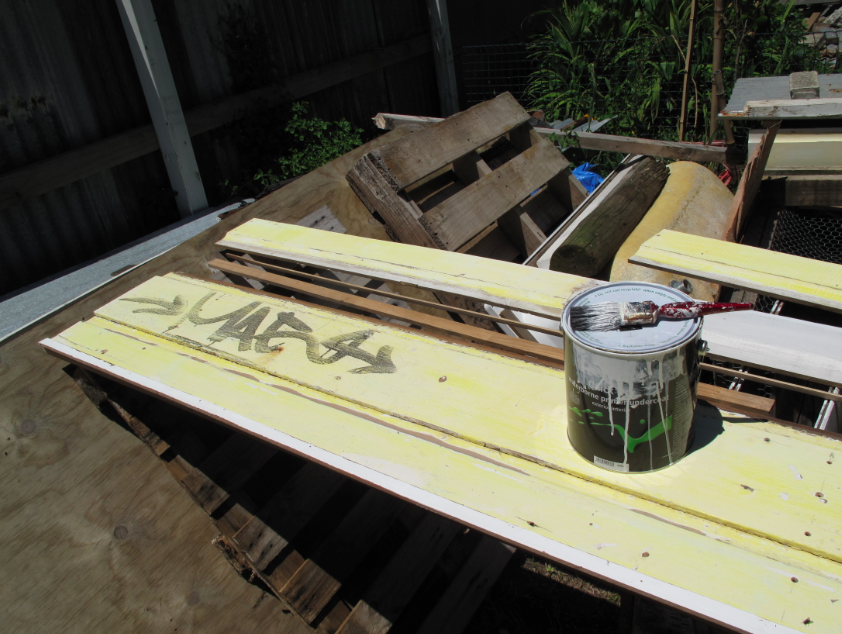
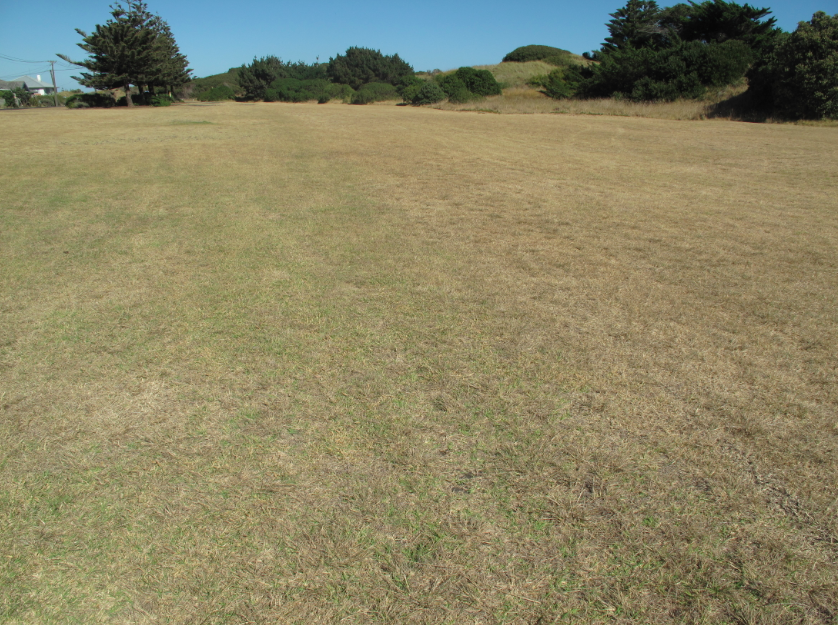
After
Unfortunately, Whanganui has been left with a legacy of thousands of homes built with seemingly no regard to the sun or even thermal comfort for that matter. Many of the dwellings I’ve audited during the last three months through Project HEAT share these characteristics: cold in winter and hot in summer.
Our home would have been the same before its passive solar renovation. As a matter of fact, we met a woman shortly after we bought the villa who told us, “I’ve been in that house before. I babysat there once. That’s the coldest house in New Zealand.”
While no longer the coldest home in the country, it is still far from the warmest. But on a sunny winter day, we find ourselves toasty warm inside long after dark, and with plenty of solar heated water – all free energy with no daily line charge!
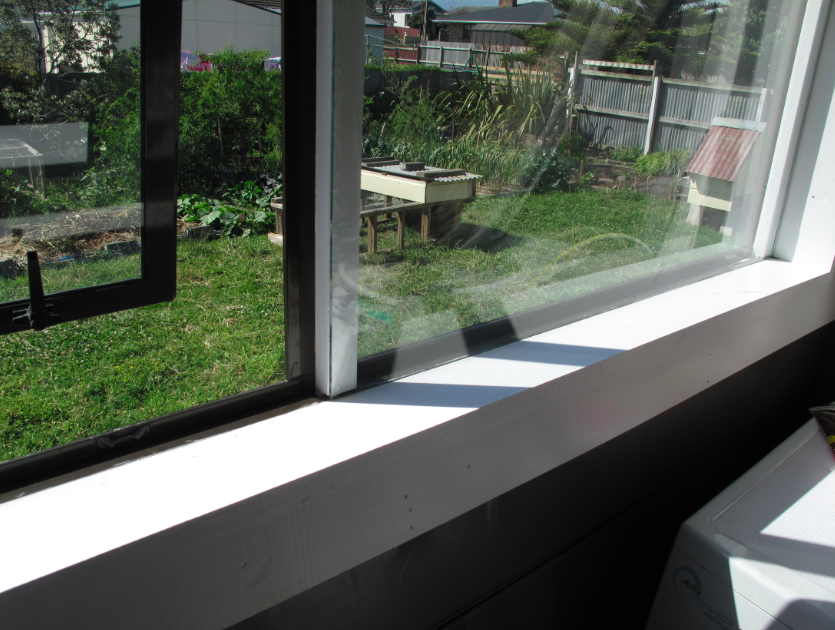
The primary way we tapped into this free, abundant energy source required no specialist equipment and no specialist skills. As a matter of fact, the ‘solar collectors’ we used already exist in every home in the country: windows. The problem with most homes is that the windows are evenly distributed between the north, south, east and west.
On sunny winter days, only the northerly-facing windows have a positive energy balance. In other words, they gain more heat through sunlight energy during the day than they lose through radiation at night (if properly curtained, as you would). All of the other windows have negative energy balances even on the sunniest of winter days.
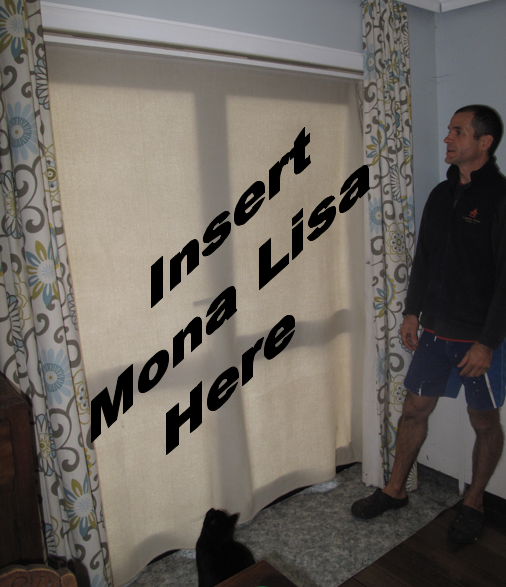
For us, the obvious solution was to ‘shift’ windows from southern exposure to northern exposure. While retaining roughly the same amount of total glazing, we were able to dramatically improve the solar gain of this old villa where – once upon a time – someone decided to put the toilet in the north corner.

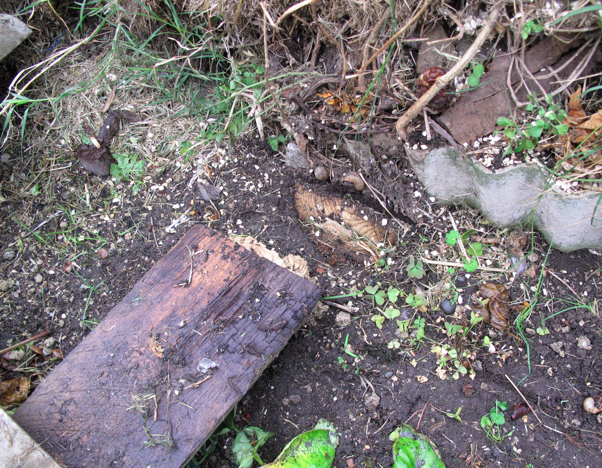
Before

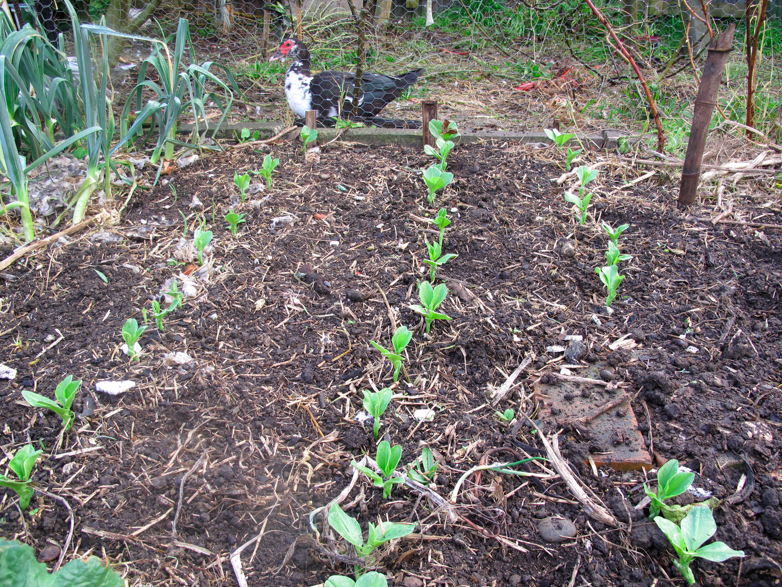
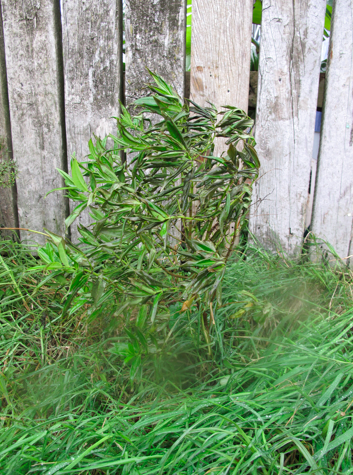
After
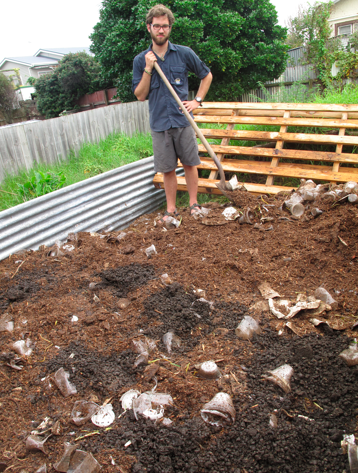
Shifting the toilet to a more appropriate location was accompanied by opening up the north corner to create a bright, warm, cosy kitchen with French door access to abundant backyard vege gardens and an outdoor pizza oven. All of the work was done in accordance with the New Zealand Building Code, with special attention paid to weather-tightness and bracing.
At the same time, we insulated the ceilings as well as those walls that were opened up during the renovation. And finally, we added thermal mass inside of the building envelope to moderate and store solar thermal energy, but that, my friends, is a story for another day.