I’m told that in the land of the long white cloud (Aotearoa/NZ) garlic is planted on the shortest day of the year and harvested on the longest. Fair enough. That’s more or less what we’ve done for the past two years. But last week I managed to land right on the 21st. It was a beautiful day and I spent a couple of hours building a new garden bed, taking pictures, planting garlic and missing an afternoon meeting that slipped my mind. Oops.

Even though it is the middle of winter here and the middle of summer in the northern hemisphere, it is still a fine time to put in a garden bed. On my farm in New Hampshire, I remained seeding fall greens (spinach, kale, Swiss chard) through the second week in August. If you have a small garden and want to expand it, or you want to start a garden on your lawn, here are a few things I’ve learned over the last 12 years of building beds.
* Please note that we use a number of techniques to prepare the plot before putting in a new bed, but those are not required. It is quick and easy to go from lawn to garden in one afternoon. I’ll explain those prep techniques in another post.
Step 1: Decompress the soil. Assuming you’re converting lawn to garden, the soil will inevitably be compacted by years of foot traffic, mowing, etc. Use a strong (thick tines) garden fork and plunge it into the soil on an angle about like this.

Push down on the handle so that the soil is just “fluffed” a little bit as such.

Work backwards so you don’t compress an area you’ve already decompressed.

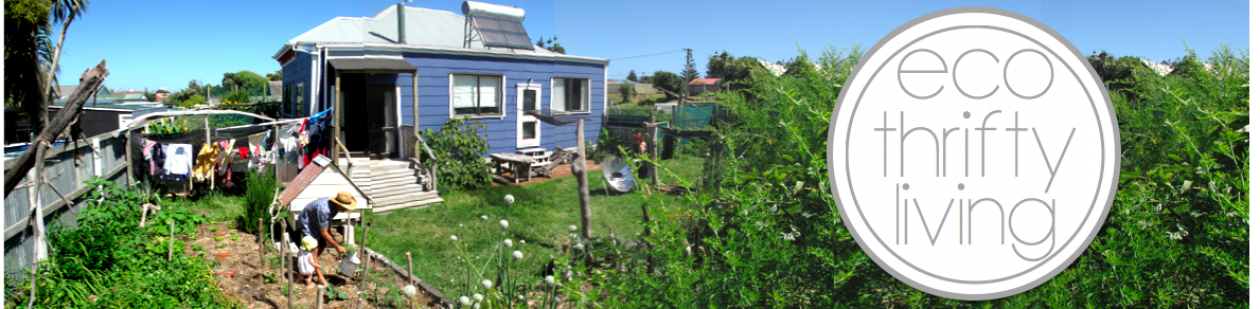
Step 2: Sheet mulch. We use newspapers (no glossy inserts), cardboard and scraps of unpainted and untreated plasterboard/drywall (Gib/Sheet Rock). It is handy to have wet newspapers, especially on windy days. You can put a stack of newspapers into a wheel barrow and run a hose over them, or…just leave them outside for a few weeks like we do.

Lay out the newspapers 3 to 6 sheets thick with generous overlap (50 to 100 mm) between each sheet. Don’t be stingy with these. In our present world old newspapers are abundant.
Here I am building the new bed adjacent to an existing bed. Edges tend to be high maintenance areas, so I design to minimize them.

Because we have some very aggressive grasses that tend to invade our beds, I “reinforce” the edge with a bit of plasterboard.
Step 3: Deciding on siding. Almost anything can be used as sides for a raised bed. You don’t even need sides at all. But many people prefer them. I like to use whatever is local, abundant and/or free. In the past I’ve used bricks, blocks, scrap wood, stone, and beams from a barn that was torn down. At present we are using a combination of concrete edging we got on Trade Me and concrete fence posts we got for free at the transfer station. I would recommend against using treated wood, but I’ve seen plenty of people do it.

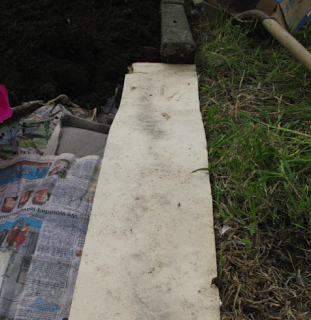
Step 4: Fill ‘er up! Many people like to use a “lasagna method.” There are lots of recipes you can find by Googling. I prefer to use whatever is local, abundant and/or free. We make lots of our own compost that we use generously. But in this case we had some leftover topsoil that was just sitting in a pile conveniently next to where I decided to build this bed.
We also happened to have plenty of sheep manure that we bartered for French doors that we did not need.

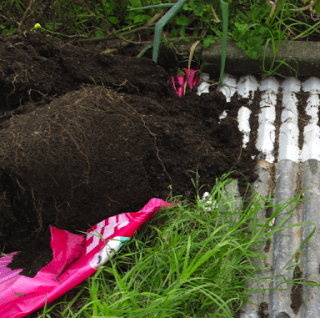
I raked the soil and manure flat in the bed. Please note that I usually make beds no wider than 1.2 meters so that I can reach halfway into them from each side without ever stepping in the bed. This is crucial in low maintenance garden management. Never step in the beds!
But in this case where the bed is wider than 1.2 meters, I placed bricks as stepping stones for access to the middle of the bed.
Step 5: Plant. Depending on what techniques you use, you can direct seed or transplant into the bed straight away. Here I planted seed garlic just wider than a stirrup hoe, which is my main weed management tool.
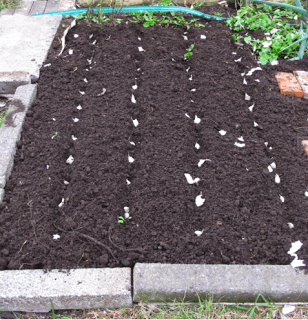
Over time the grass under the bed will rot down into a “green manure.” The worms will happily munch away and stir it up, and the roots of your vegetable plants will thrive in the loose, fertile soils.
Other options: In the next post I’ll explain another technique that is even faster and cheaper.
Peace, and get planting, Estwing