
Let me begin with the following statement: Taking pictures of windows is extraordinarily difficult.
Now that that’s established, I’ll follow up with this statement: DIY double-glazing can take many forms.

Regular readers of this column will be well aware of plastic window film DIY double-glazing. Local man, Jason Quinn, was recently selected as a finalist in the Innovation awards for his product, Space Window Insulation.
We have used his product in our home to a certain extent, but lately I have been experimenting with DIY glass double-glazing as a more permanent way to reduce heat loss through windows. I believe this would be considered “retrofit” double-glazing, because we are doing it to our existing windows – both aluminium and timber.
Before I describe the different ways I’ve done this, a reminder: insulation in ‘trapped air.’ In other words, the second sheet of glass or plastic does not add any significant insulating value, it is the air trapped in between. The aforementioned Jason – literally a former rocket scientist – tells me that the optimal air space (gap) to the second sheet – be it plastic or glass – is about 22 mm. Typically, timber windows have a 25 mm gap between the glass and the interior frame, but aluminium windows offer only a 5 mm – 7 mm gap.
So far I have retrofitted five windows in four different ways. The first one was an aluminium window with Space Window Insulation. The good news is that it was cheap and easy, but the bad news is that there is only a 6 mm air space. Then again, 6 mm of trapped air is better than none.
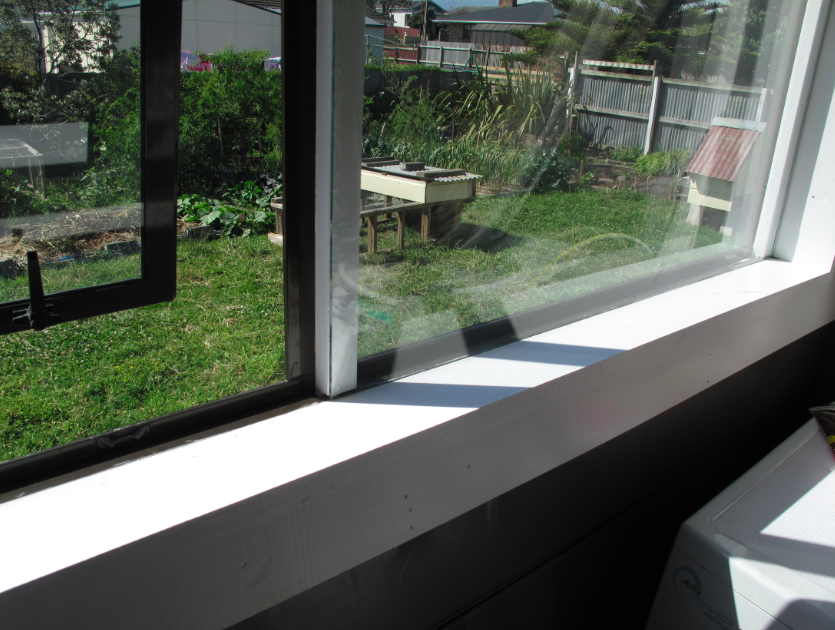
The next window I retrofitted was in our bathroom. The building code required us to have safety glass, but instead of removing the original glass and replacing it with safety glass, I commenced my first attempt at glass DIY double-glazing. Here is where the difficulty in taking pictures of glass comes in. Follow along the numbered photographs as best you can.
1) As with any DIY project, it pays to organize all your tools and materials in advance.

2) I glued vertical timber battens – primed and painted on all sides – to the aluminium frame. These take up the space of the trough at the bottom of the frame, and provide a 22 mm gap between the two panes.

3) I set the glass with a bead of silicone on both vertical battens.
4) I screwed two horizontal battens – top and bottom – into the timber frame to hold the glass against the vertical battens.

This design worked well, so I repeated it on an identical window in our kitchen, but I was forced to change plans when facing our large lounge window because there was no aluminium trough. I could have used timber battens again to create an air space greater than 6 mm, but the process of measuring, cutting, priming, and painting (two coats) is long and drawn-out. Instead, I used a roll of 12 mm adhesive foam to make an 18 mm gap (6 mm + 12 mm) all around the window. Then I simply used timber battens top and bottom to hold the glass in place.
Finally, in our bedroom – where we have timber windows – I used yet another design. Here it was a combination of adhesive foam and right-angle timber battens. It would take a thousand words to explain it, so I’ll refer you again to a photo: 5) side-by-side single-glazing and double-glazing.

Want to learn more? DIY Double-Glazing Workshops: 25thJune, 5-6:30 pm. 29th June, 9-10:30 am. 30th June, 4:30-6 pm. Registration essential: 022 635 0868 – theecoschool@gmail.com
