

Windows and doors can account for up to 40% of the heat lost from a home. In many instances, more heat passes through windows and doors than through ceilings, which themselves can account for up to 35% of heat loss.
Of course all homes are different, and there can be ranges based on the number and quality to doors and windows, and the thickness of ceiling insulation. For example, there are differences between timber windows, aluminium windows, single-glazing, double-glazing, and the R-Value of insulation.
Additionally, it matters whether windows and glass doors face north or south on how much heat they lose during winter. For example, south-facing windows emit heat from a home to the outdoors nearly every minute from May through August. On the other hand, north-facing windows can gain heat during sunny winter days and only release heat at night. 
The bottom line is that in many cases glazing accounts for more heat loss than ceilings. This is significant for a number of reasons:
1) The government subsidizes ceiling and floor insulation but appears stop there.
2) Even with government funds, insulation often costs thousands of dollars.
3) Many landlords have no intention of insulating their properties.
4) Dealing to doors and windows can be done at a fraction of the cost of insulating ceilings and floors.
When it comes to doors and windows, heat is lost from a home in two ways: free exchange of air (aka draughts) and heat radiating through glazing. I have written about insulating windows with window blankets and I will write in the future about options for DIY double-glazing. Today is all about draughts, and more specifically it is about plugging them.
During our renovation, we engaged in lots of high-end draught-proofing around new windows and doors as required by the New Zealand Building Code. This involved foam and spray foam and a bit of a mess. But it works very well. 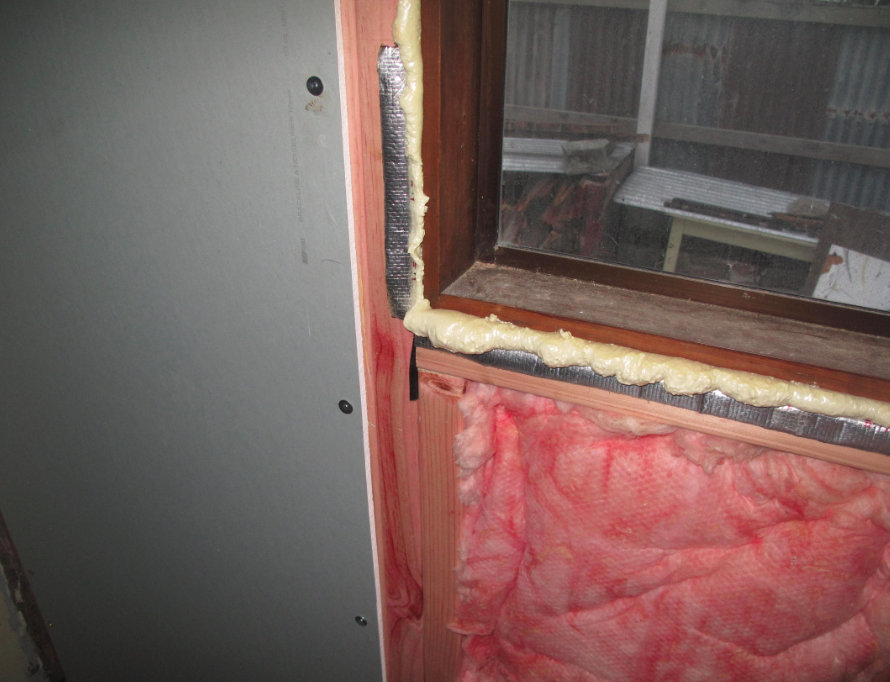
Additionally, we engaged in many low-end draught-proofing strategies on existing doors and windows that anyone can use, whether they are a renter, owner, Chiefs supporter or die-hard Hurricanes fan. Some of these strategies have essentially no associated costs while others may have price tags ranging from $4 to $20.
Approaches to draught-proofing take two basic forms. The first is using adhesive foam strips to seal narrow gaps around timber doors and windows. This product is usually cheaper than a flat white in a café, and comes in a number of colours to blend in with your paint choices.
The other strategy involves blocking the passage of air underneath doors. In my free-home-energy-audit travels with Project HEAT (Home Energy Awareness Training) I have seen gaps as large as 2 centimeters beneath front and back doors. On a breezy Whanganui winter day, that can mean a lot of air transfer!
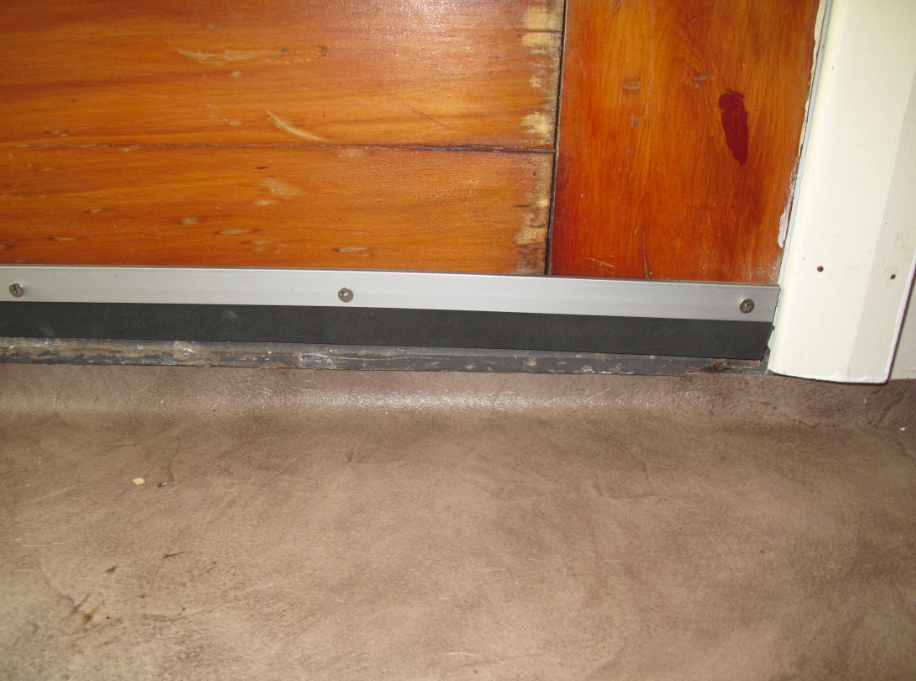
Blocking such draughts are about as easy as ‘home improvement’ gets. A low-cost option is to buy a draught excluder and fix it to the bottom of the door. I recommend against buying the cheapest plastic models as I do not believe they are durable. The one pictured has an aluminium strip holding a thin foam barrier.
A free option is to find a piece of off-cut ‘two-by-two’ (4.5cm x 4.5 cm) and cut it to length as wide as your door. Wrap it in a towel and tie the ends like a Christmas crack. At the end of winter throw the towel in the wash and store the wood for next year. 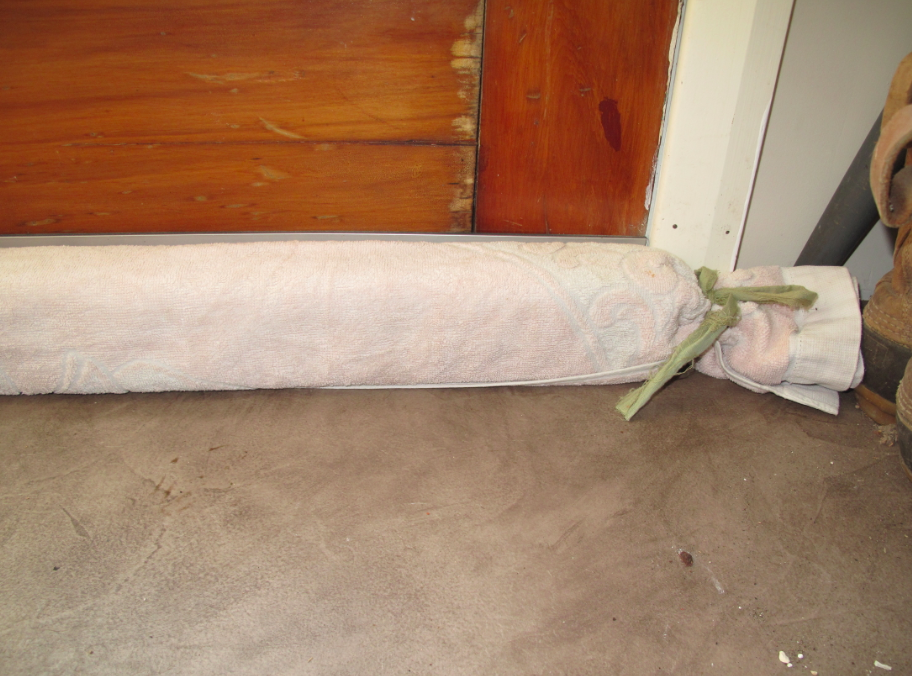
One final note: I have noticed on occasion cold air blowing in through power sockets on exterior walls. My suggestion in this case is to keep electric plugs in them at all times or use a baby safety plug.
Peace, Estwing
