
With an abundance of bad design around the world and across New Zealand, the opportunities for good design and re-design are almost endless. Simply addressing the built environment would provide thousands of jobs over many decades, to say nothing of the “natural environment.”
But this week’s column will, however, address the natural environment, which is, across most of this country, far from natural. In many cases non-native animals graze non-native plants on steep slopes that results in increased river levels and erosion during heavy rains and decreased river levels during drought. Put simply, poor design and out-dated land management techniques contribute to both flooding and drought: a lose-lose situation.
Good eco-design and contemporary land management can hold water on the land during heavy rains and provide water to plants and rivers during extended periods without rain: a win-win situation. This is called eco-design because in many cases it is the way “nature” manages water movement across the land with trees and wetlands.

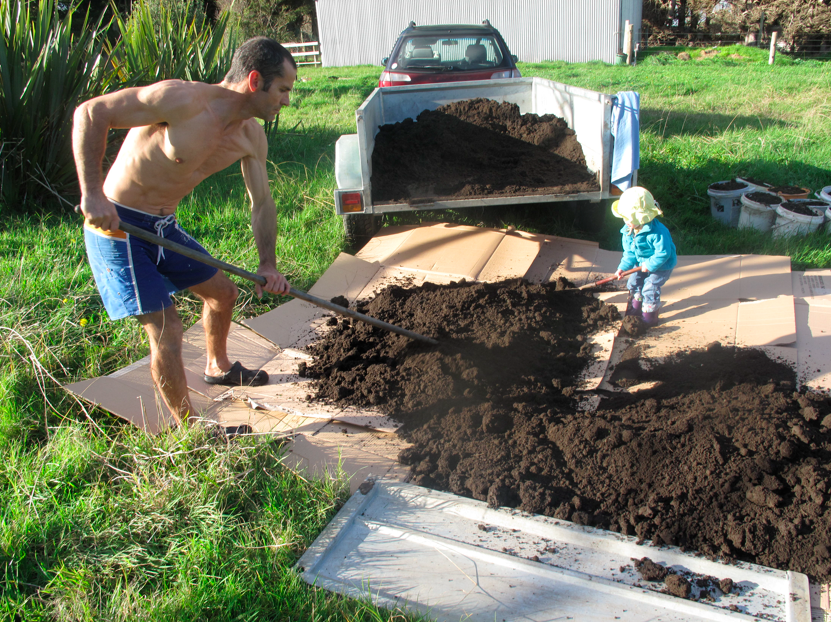
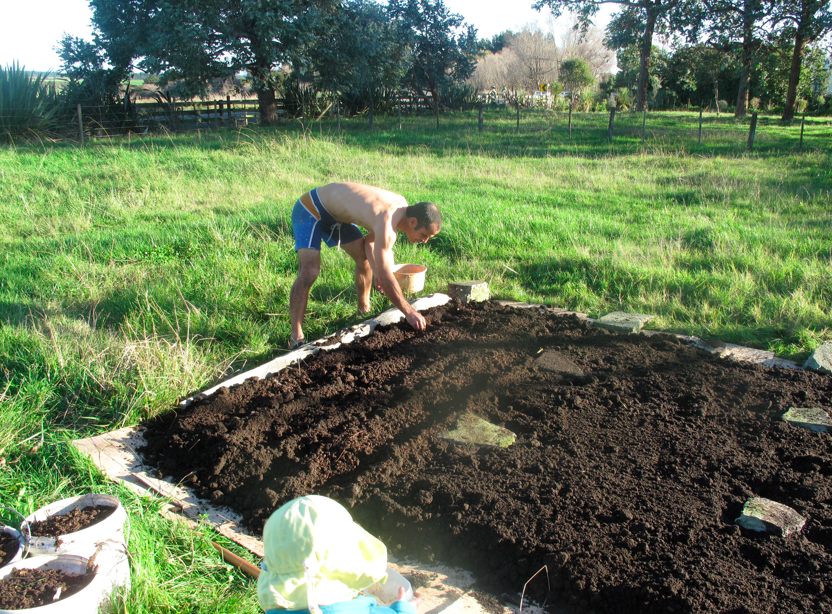
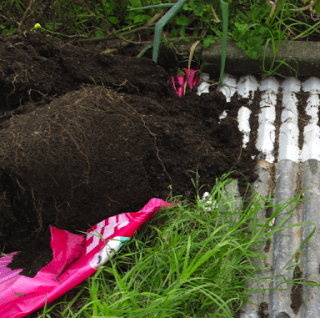
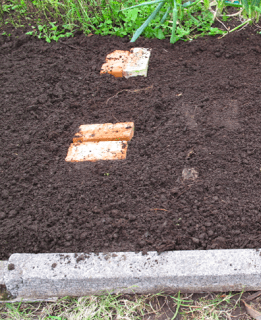
This new orchard will be designed to use excess water off the roof as needed.
Redesigning marginalized landscapes for water storage is at the heart of permaculture – an Australian eco-design philosophy first developed in the 1970s. Permaculture is now practiced by tens of thousands of eco-designers in probably every nation on Earth. In arid places such as Jordan or Arizona, deserts have been re-vegetated using permaculture design.
In New Zealand, permaculture design has been used to restore the health of degraded land and to increase its productivity. A large part of this design philosophy is turning a liability into an asset. (Sadly, this is exactly opposite to what appears to be the management philosophy of Whanganui’s wastewater treatment plant.) For example, water poses a threat to a house made from timber, but is required for a vege garden to thrive.

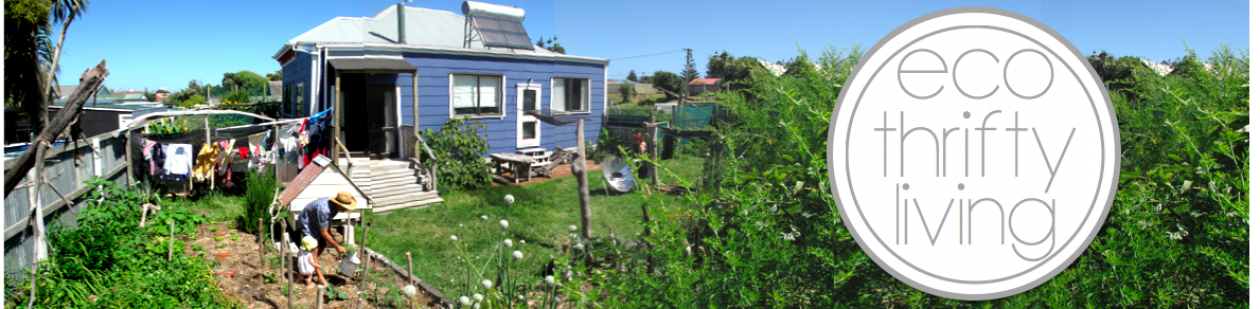
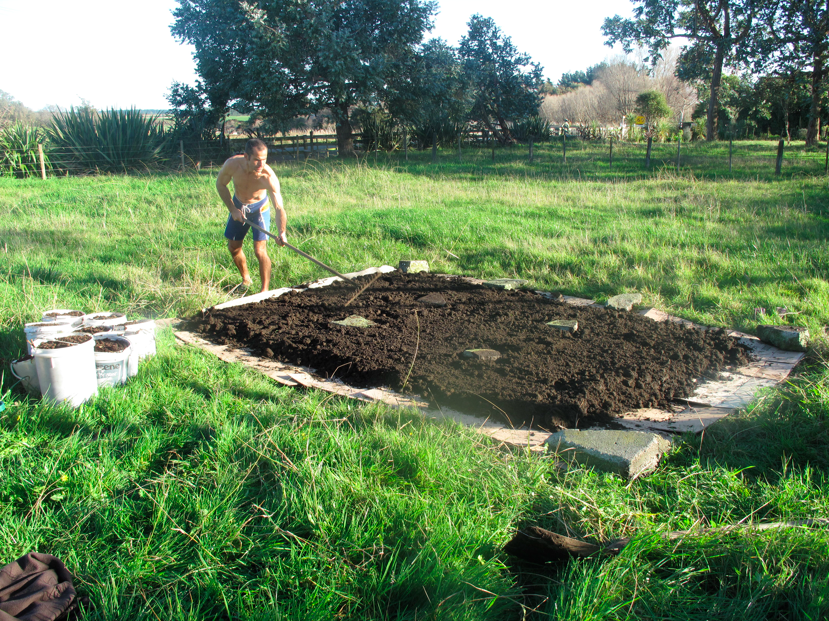
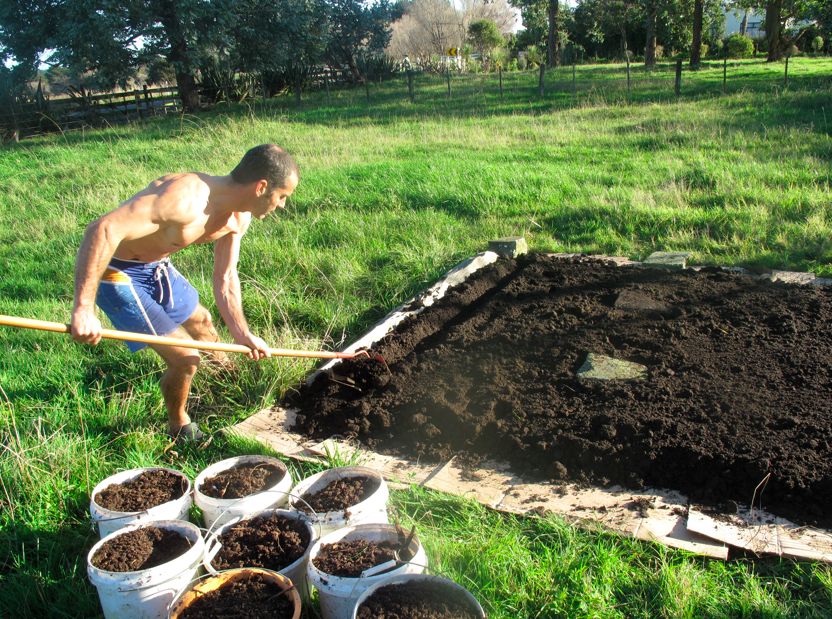
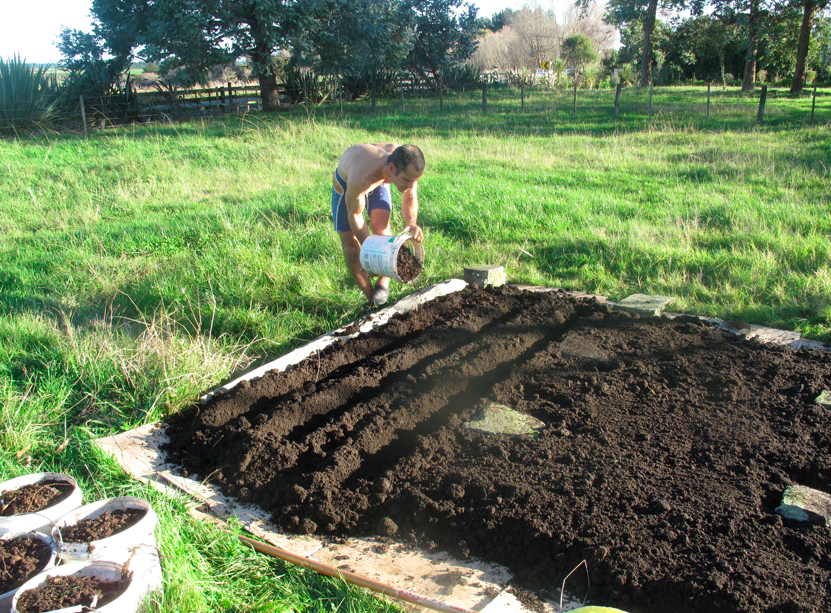
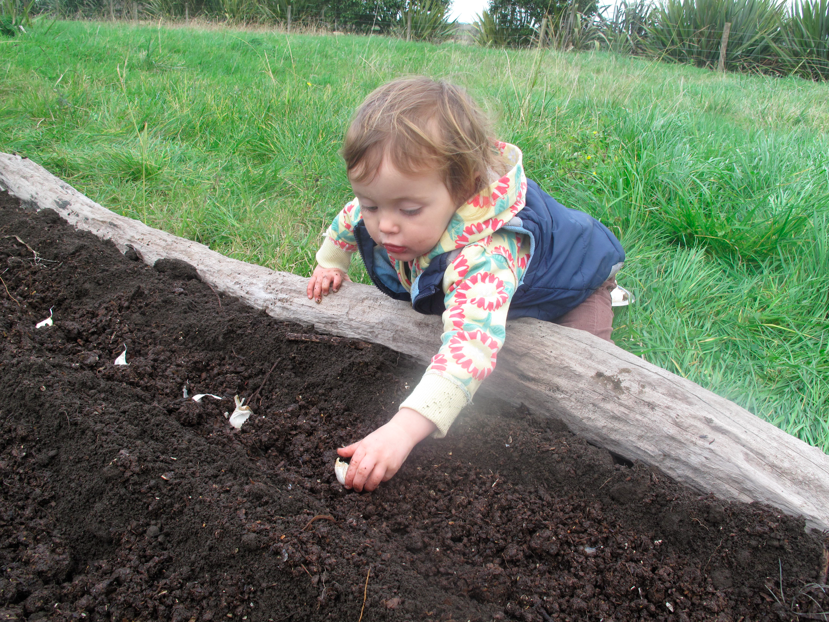
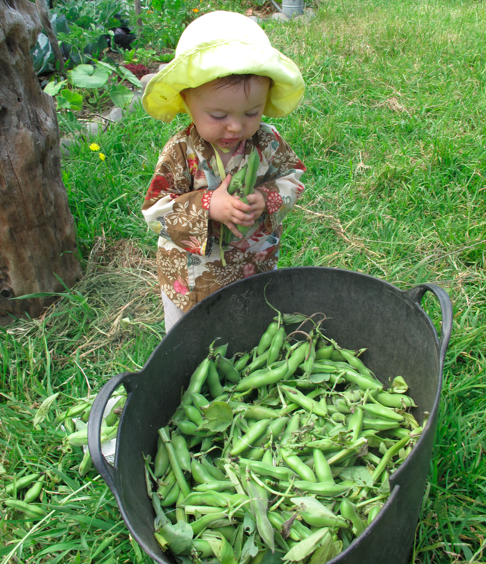
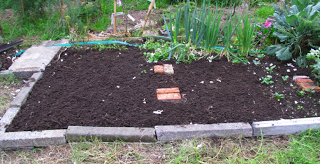
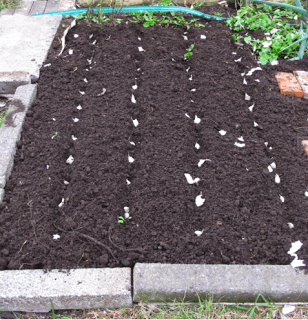
This area is being transformed into a vege garden alongside water management improvements.
Good eco-design would transfer water from where it is not wanted to where it is, but without the need for costly drains or pumping. With regards to water management, good eco-design uses gravity to move it for free.
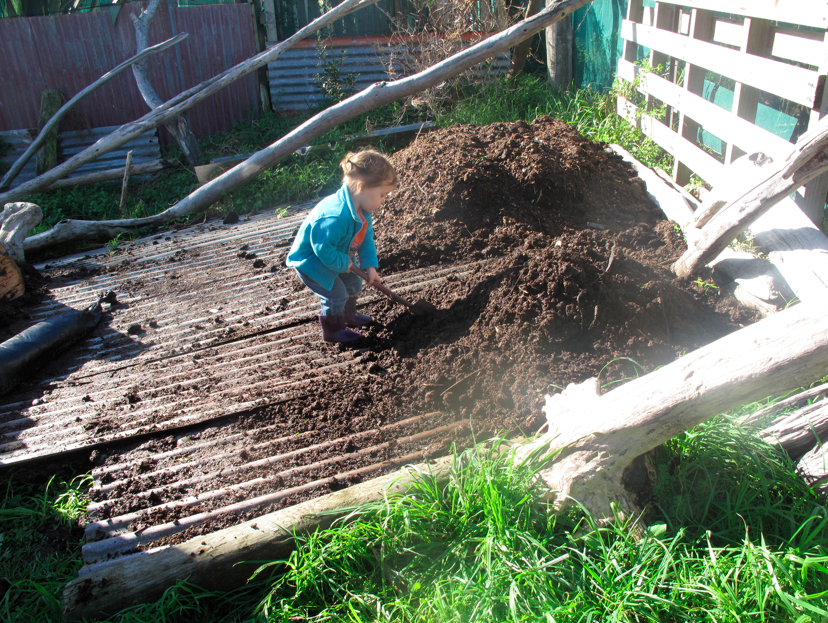
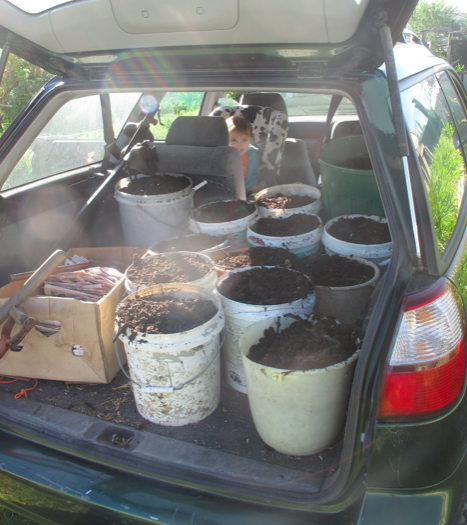
Another example of turning a liability into an asset is composting. Whether it is unwanted food scraps or an excess of manure or yard waste, composting the material and returning it to the land saves it from going to landfill where it converts into methane gas, or from running off and polluting streams and rivers. Win-Win.

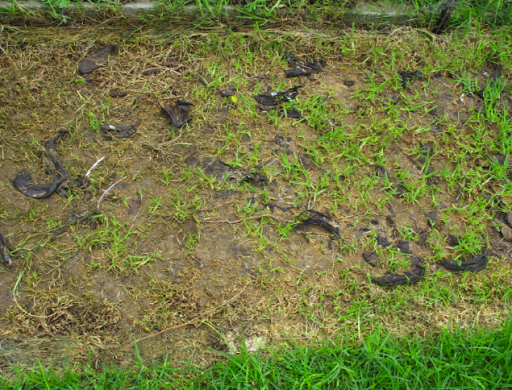
Before.

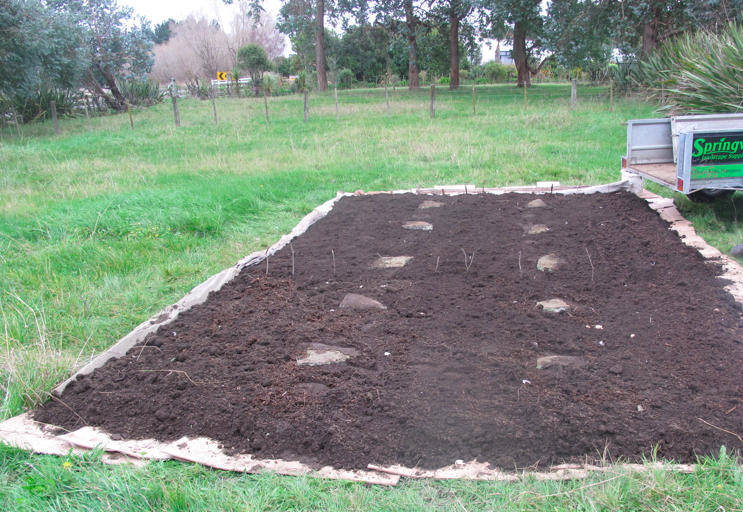
After.
If you have a small section or a large section or a lifestyle block, you may be interested in learning how permaculture design is used to manage water and soil fertility. On Sunday the 7th of September I will offer a sampler of what good permaculture design would look like on both small and larger properties (see sidebar). These events kick off Adult Eco-Literacy Week (7th-14th) and the Whanganui Permaculture Weekend (13th-14th).
Aside from being the gold standard in eco-design, permaculture is also unique in that it is an ethically-guided belief system. Central to permaculture are three ethics: Care for people; Care for the Earth; Share surplus resources.
Whanganui is unique in New Zealand in that we have a small but dedicated core of permaculturists who hold tightly to these ethics. For the second year in a row we are offering a weekend of outstanding events hosted by a range of experts in their respective fields. In other places across NZ and around the world you could expect to pay hundreds of dollars to register for such a series of events, but we are offering it to our community absolutely free.
It would be difficult to describe how unique this is, and it is one of the things I cherish about living here. Thanks to this handful of people who care deeply about our community and truly practice what they preach. And a huge thanks to Rachel Rose for helping organize the weekend.
Peace, Estwing
Sidebar:
Adult Eco-Literacy Week 2014, 7th – 14th September
7th September, 1-2 PM Eco-Design for large properties. 223 No. 2 Line
7th September, 2-3 PM Eco-Design for small properties. 223 No. 2 Line
9th September, 6:00-7:00 PM. Solar Energy. Josephite Retreat Centre, Hillside Terrrace.
10th September, 5-6 PM. Growing vege on sandy soils, Castlecliff
11th September, 12-1:15 PM. Raw Milk and Yoghurt Making, Women’s Network, 75 St. Hill St.
12th September, 5:30-6:30 PM. Best ways to use your heat pump, Josephite Retreat Centre, Hillside
14th September, 4-5 PM. Tomatoes Before Christmas, Wanganui Garden Centre. Gonville Ave.
Whanganui Permaculture Weekend, 13th – 14th September
List of events can be found here: http://whanganuipermaculture.org/


